Embroidery is the practice of decorating fabric with a needle and thread — that’s the whole of it, at its simplest. A beginner embroidery kit bundles together everything you need to complete a first project: a piece of fabric (usually with a design already printed or stamped on it), several colours of thread (called floss or stranded cotton), a needle, a small hoop to hold the fabric taut, and some kind of instruction. That last word — instruction — is where kits diverge wildly in quality, and it’s the thing most buyers only discover after the fact, when they’re sitting frustrated at a table wondering why the satin stitch on the video looks effortless and theirs looks like a bird’s nest.
This guide is for anyone who’s past the “should I even try embroidery?” question and now wants to know which kit will actually get them stitching competently — not just surviving a single project. The differences between kits are structural, not cosmetic, and understanding them before you spend $30–$80 makes a meaningful difference to whether you come away with a skill or just a wall hanging.
Why the Instruction Format Is the Real Product
Most beginner embroidery kits live or die on one decision the designer made before a single piece of fabric was cut: how will the learner receive instruction?
The three dominant formats are printed instruction sheets (a folded card or booklet), a single long video walkthrough, and short independent skill-specific clips — one per stitch, accessible individually. The gap in learning outcomes between these formats is not subtle.
Artists Network, in their guidance on beginner textile learning titled “How to Choose an Embroidery Kit for Beginners,” emphasises that stitch technique is a motor skill, not a reading-comprehension task. You can read a description of a French knot fifteen times and still have no useful model of what your fingers should be doing. Video changes that — but not all video formats are equal.
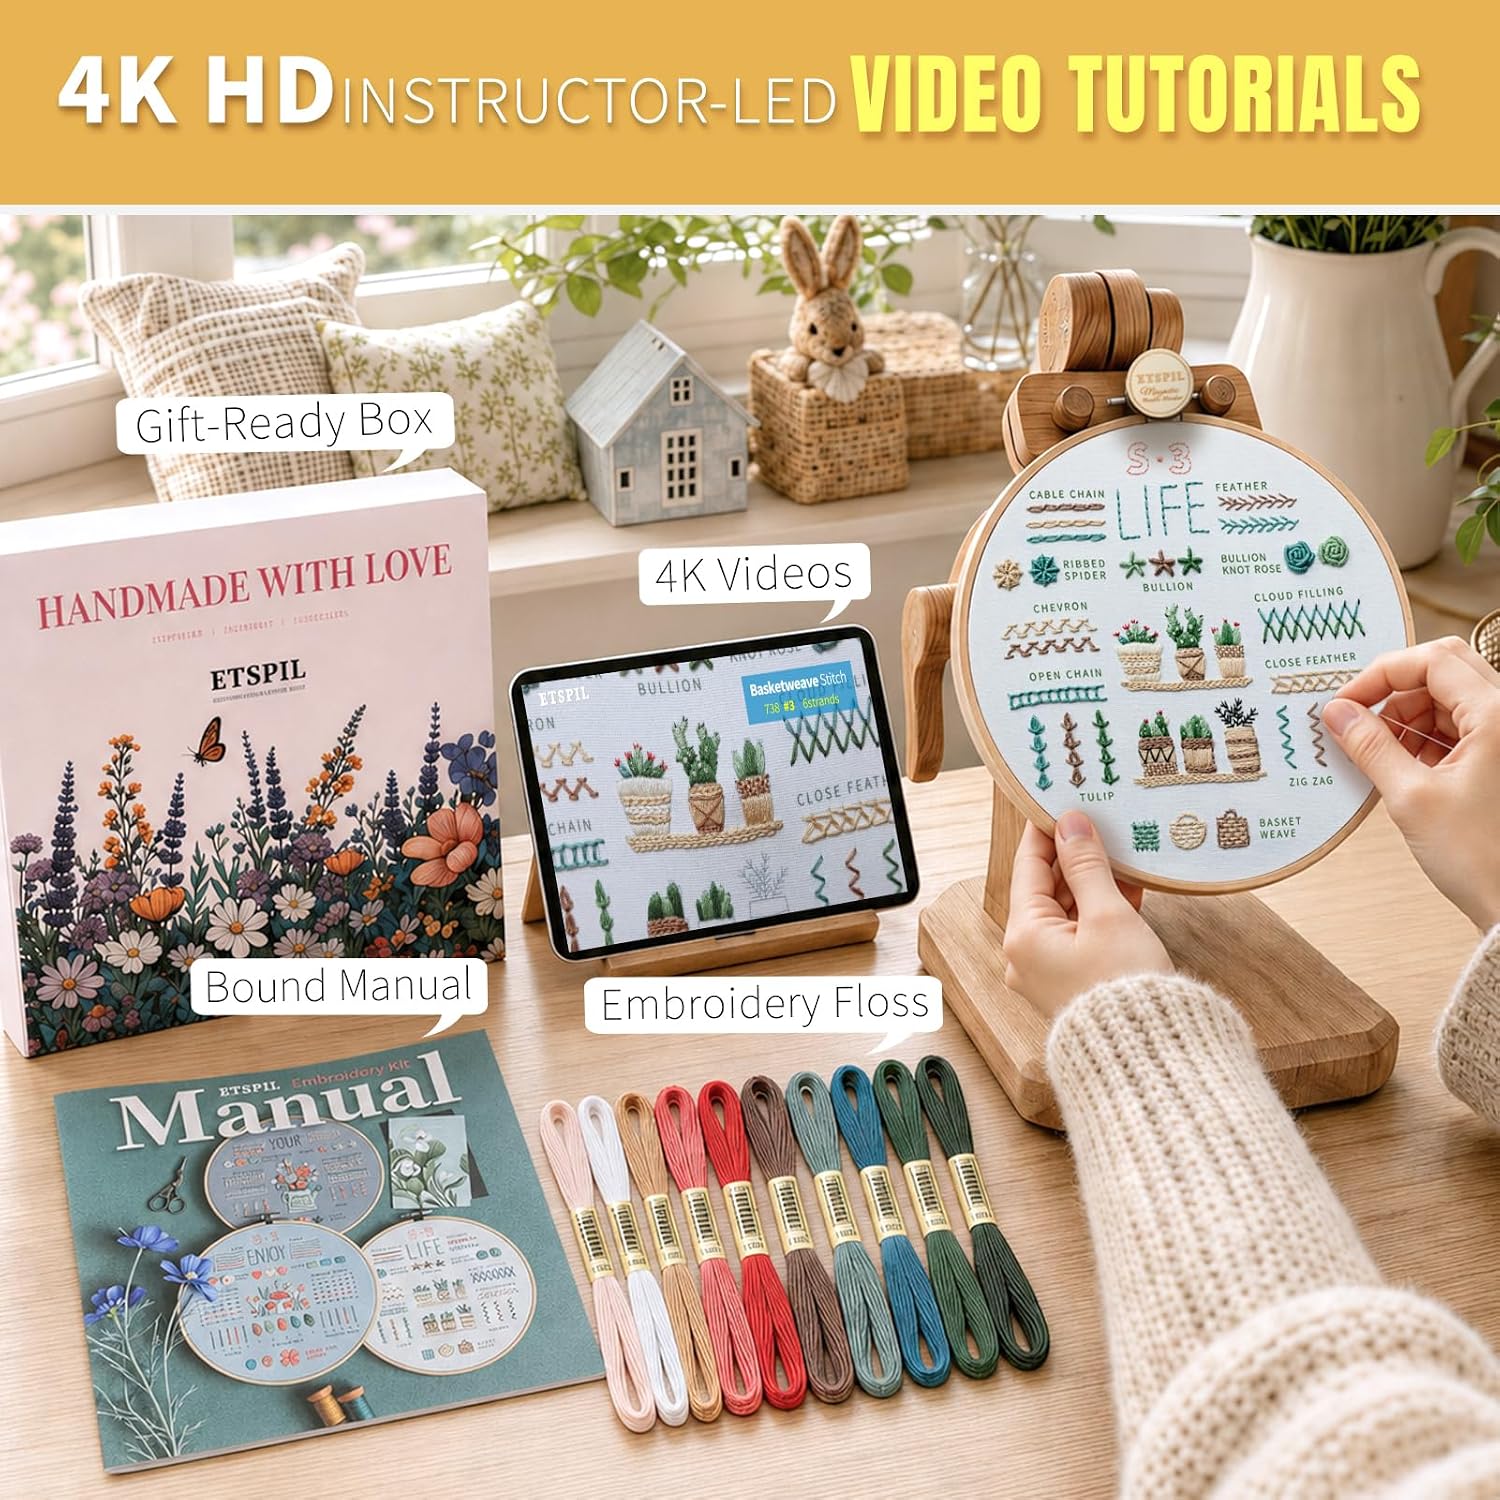
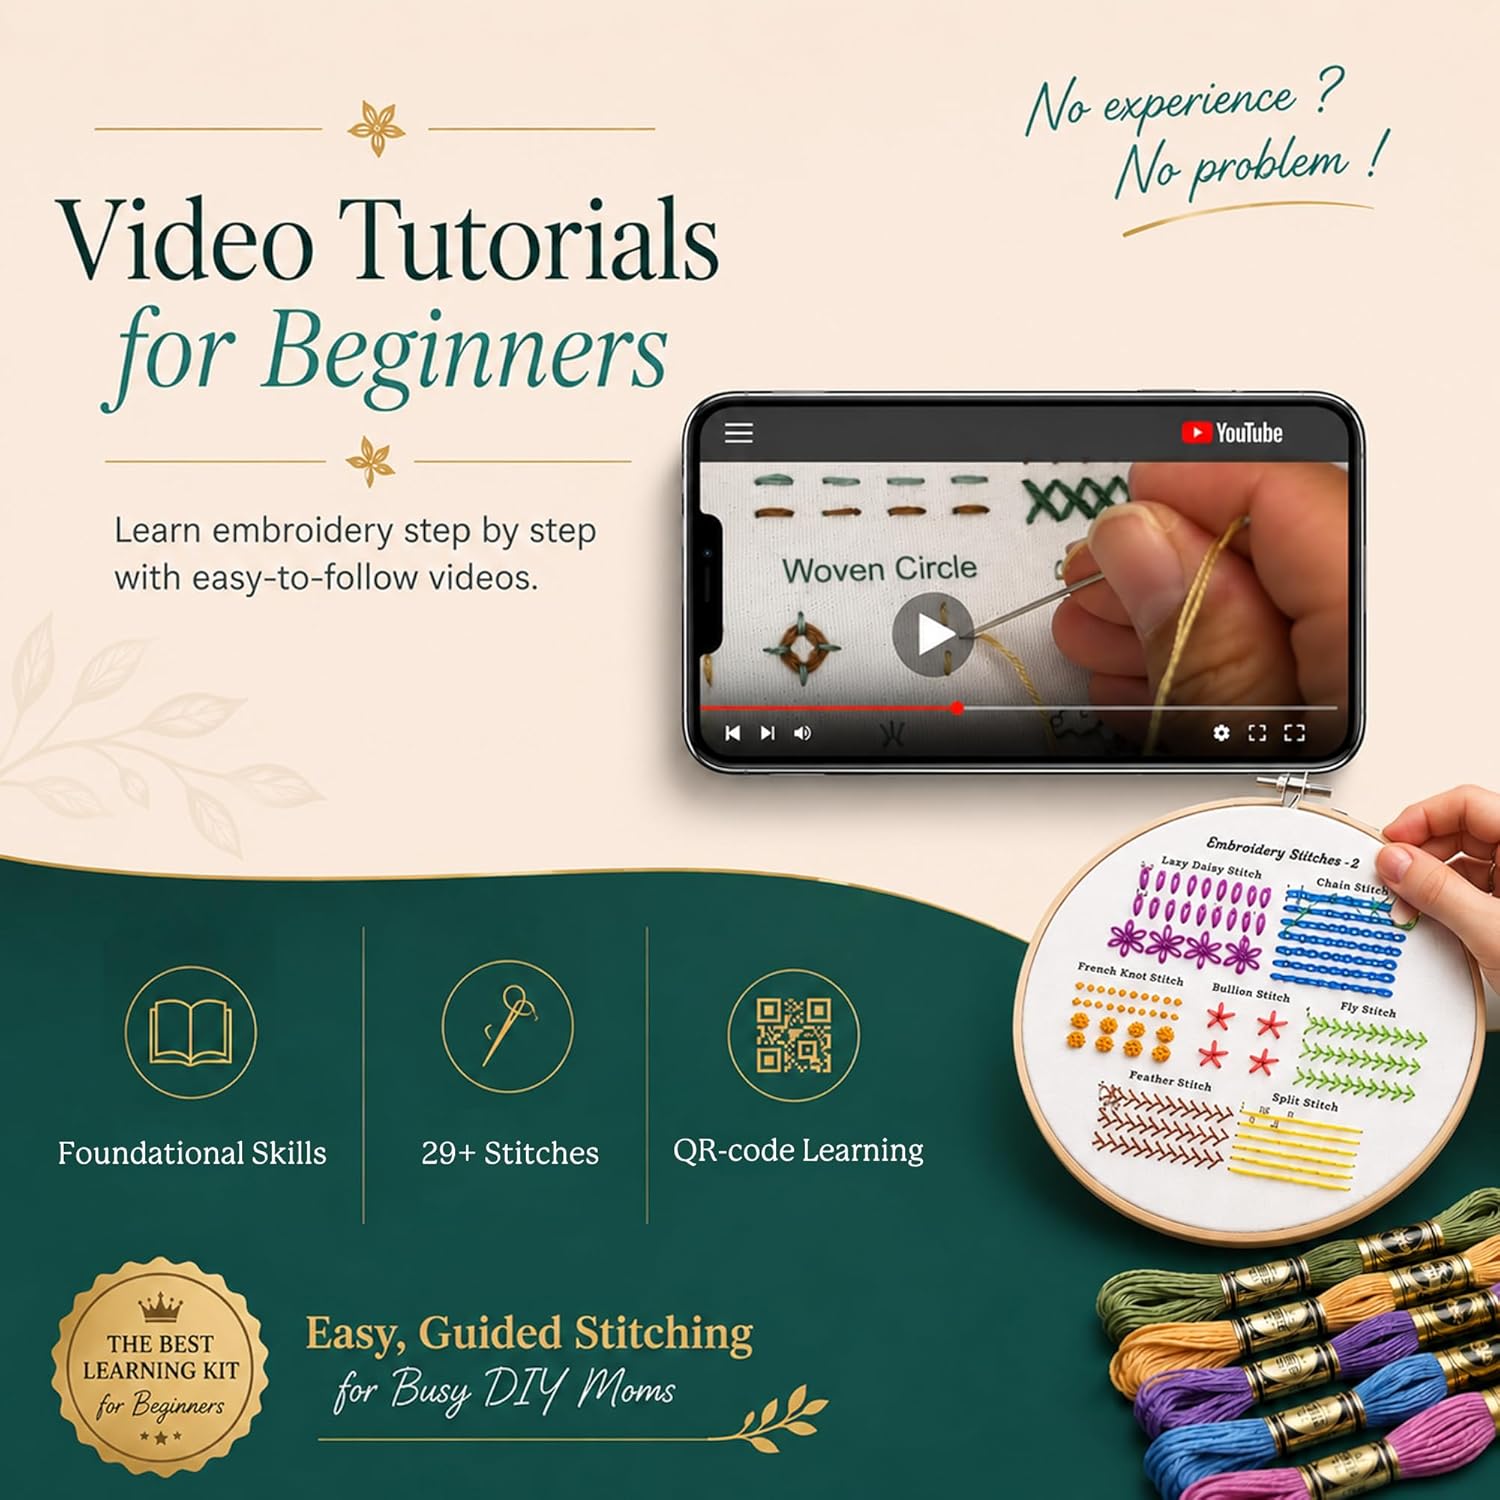
The short, independent clip format — where each stitch gets its own two-to-four minute video accessible on demand — has emerged as the format most consistently credited by adult learners for making the difference. Across aggregated review data for kits in the ETSPIL range, reviewers return to this structure repeatedly as the reason learning succeeded where previous methods — including both printed instructions and longer tutorial videos — had failed. One reviewer, who explicitly identified as an adult with ADHD, named the independent clip format as the specific structural feature that worked for her brain: no hunting through a 40-minute video to find the moment where the tutor demonstrates a backstitch, no losing your place, no re-watching sections you already understood to find the one you need.
The Craft Council of Australia, in their research document “Textile Skills and the Adult Learner,” notes that self-directed learners benefit from modular instruction precisely because they can enter and exit at the point of need. A kit whose instructions assume linear consumption from page one is a kit built for a very specific — and not universally common — learning style.
What this means for your buying decision: before price, before pattern, before the quality of the thread — ask what the instruction format is, and whether you can preview it. Kits that hide their tutorial format in vague phrases like “full instructions included” are worth treating with caution.
Stitch Progression: How Many Is Right, and in What Order?
A common misconception is that a beginner kit should teach as many stitches as possible — the logic being that more content equals more value. The opposite is usually true. Maker and Student, in their analysis “Instructional Design in Craft Kits,” identifies stitch sequencing as one of the highest-leverage decisions a kit designer makes. Starting with stitches that share foundational hand mechanics — the running stitch and backstitch share movement logic; the satin stitch and long-and-short stitch share coverage logic — lets each new skill reinforce rather than replace the last.
A well-designed beginner kit teaches four to six stitches, sequenced so that completing the project requires all of them, and so that each stitch encountered is slightly more complex than the one before it. A kit that drops you into a French knot in the first session without having built the thread-tension awareness that develops through satin stitch work is a kit that generates frustration, not confidence.
Kits in the Craftwiz range generate a distinctive emotional signal across their review base: the word successful appears in multiple unrelated reviews, from reviewers who don’t appear to know each other and are describing different projects. That’s a meaningful pattern. Reviewers writing independently don’t coordinate on vocabulary — when the same word clusters around a product, it points to a consistent outcome. In this case, the outcome being described is the experience of completing something and feeling capable, not just having finished.
This contrasts with a pattern flagged in CYANFOUR’s four-stage kit range, where one candid review describes the instructions as feeling “fake” — a word that points to a specific problem: the stitch-to-thread pairing feels miscalibrated, with too little of certain thread colours provided relative to the stitches requiring them. For a true beginner who doesn’t yet have the thread-reading intuition to substitute or adjust, running out of a colour mid-project isn’t just frustrating — it interrupts the motor learning loop at exactly the wrong moment.
By the numbers — what to look for in a beginner kit:
| Feature | Minimum viable | Better |
|---|---|---|
| Stitches taught | 3–4 | 5–6, sequenced by complexity |
| Tutorial format | Printed QR-linked video | Independent clips, one per stitch |
| Thread colours included | 5–8 | 8–12, with verified sufficiency |
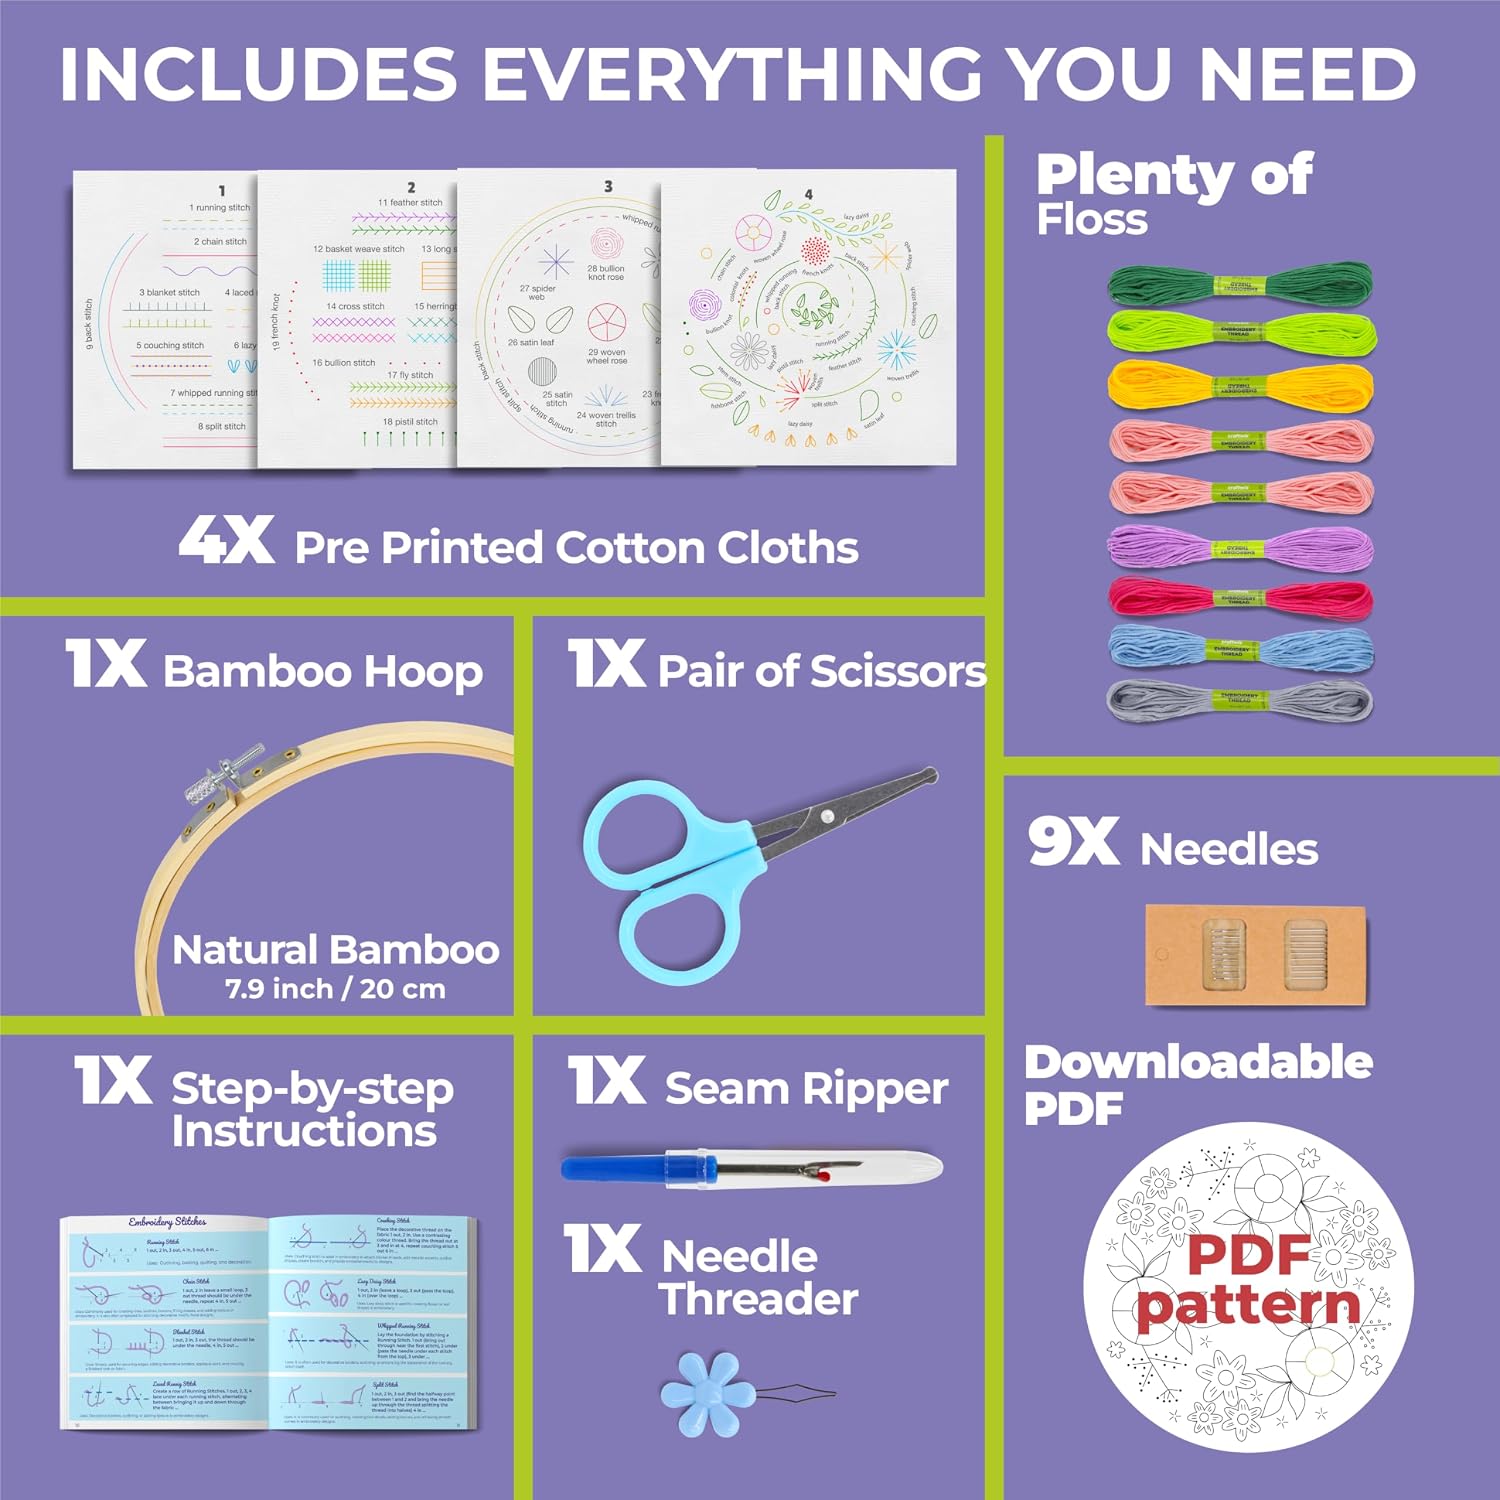
| Fabric type | Pre-printed cotton | Pre-printed with backstitch guide |
Thread Quality and the Tactile Learning Problem
Here’s a tradeoff that doesn’t appear in marketing copy but shows up consistently in honest reviews: the ease with which thread separates affects learning speed more than almost any other physical variable in a beginner kit.
Embroidery floss is typically sold and used as a six-strand bundle. Most stitches require you to separate and use two or three strands at a time. If the thread is poorly twisted or fibres are stuck together from moisture or cheap processing, separation becomes a wrestling match rather than a preparation step. Jackson’s Art, in their reference piece “Understanding Embroidery Thread and Fabric Weight,” notes that quality stranded cotton — the standard benchmark being DMC or Anchor at the higher end — separates cleanly because the twist is consistent and the finish is smooth.
Some kits at the lower price point use house-brand or unspecified thread that generates a repeated tactile complaint across reviews: it’s hard to separate. This is not a catastrophic flaw for an experienced stitcher who knows how to dampen and coax stubborn floss. For a beginner who is simultaneously managing needle tension, hoop tension, stitch placement, and thread count, fighting with the floss is a cognitive load the learner doesn’t need.
If you’re evaluating a kit primarily on price and the thread brand isn’t named or shown clearly in the product listing, that’s a signal worth weighing. Kits that specify DMC or Anchor floss — or include equivalent quality thread from the manufacturer — tend to generate cleaner first experiences.
The Bradove beginner kit earns a specific kind of praise that’s worth noting: a reviewer who came from a bead embroidery background (where needle mechanics differ significantly) and had no conventional sewing background describes the instructions as genuinely accessible at the point of zero baseline. That’s a useful data point. Kits that assume no prior sewing intuition are rare — most assume you already know how to thread a needle or tie an ending knot, which are actually non-trivial skills for a complete first-timer.
Budget-tier kits: what you trade away
ETSPIL
$17.98
In stock on Amazon
Check price on AmazonBudget embroidery kits — typically priced between $15 and $30 — almost always compromise on one of three things: thread quality, instruction depth, or fabric weight. Thread is the most common casualty. At this price point, the fabric is usually adequate (pre-printed cotton is inexpensive to produce), and some instruction is always included, but the floss is often unbranded and difficult to separate cleanly. If you buy at this tier, budget an additional $5–10 for a few skeins of DMC stranded cotton to replace any thread colours you find frustrating to work with.
Mid-tier kits: the sweet spot for teaching
Craftwiz
$24.99
In stock on Amazon
Check price on AmazonKits priced between $30 and $55 are where the instructional investment tends to appear. This is the tier where brands can afford to produce short independent tutorial clips rather than a single long video, sequence stitches deliberately across the project design, and include named-brand floss. The ETSPIL range and Bradove beginner kits sit in this category, and the review patterns for both reflect the investment — reviewers describe outcomes (finished projects, new skills retained) rather than just materials received.
Premium-tier kits: when the design is the point
Bradove
$27.98
In stock on Amazon
Check price on AmazonAbove $55, you’re often paying for the design rather than the instruction. Premium kits frequently feature licensed artwork, complex colour palettes requiring 12 or more thread colours, and higher-weight linen fabric rather than cotton. The instruction quality does not reliably scale with price at this tier — some premium kits include identical tutorial formats to mid-tier products. If you’re choosing a premium kit, verify the instruction format independently before purchase, and treat the elevated price as design licensing rather than a teaching investment.
Pre-Printed Fabric vs Transfer Fabric: The Practical Tradeoff
Beginner kits use one of two approaches to getting a design onto the fabric. Pre-printed fabric has the design already stamped or screen-printed directly onto the cloth — you stitch over the lines, and the lines typically wash out or fade. Transfer fabric requires you to iron or trace a design onto plain fabric yourself before stitching begins.
For a first project, pre-printed fabric has a meaningful advantage: it eliminates a failure point before stitching even starts. A misaligned transfer, a too-hot iron, or a design that doesn’t adhere cleanly can derail the experience before a single stitch has been placed. Artists Network’s guidance on beginner textile kits — referenced in “How to Choose an Embroidery Kit for Beginners” — identifies pre-printed fabric as the near-universal recommendation for a first project precisely because it reduces the number of skills being learned simultaneously.
Transfer fabric has genuine advantages later: you can reuse the blank fabric, you can scale or reposition designs, and the process itself is a useful skill. But “later” is the operative word. A kit marketing transfer fabric to absolute beginners as a feature — rather than disclosing it as an additional step — is worth scrutinising.
If you’re past your first project and already comfortable with hooping and basic tension, transfer fabric kits open up more design variety and are worth exploring. If this is genuinely kit one, default to pre-printed.
What to Do When Your Kit Feels Too Hard
This question comes up more often than the kit-marketing complex would like to acknowledge: you’ve bought the kit, you’re two stitches in, and something isn’t clicking. The instinct is often to assume personal failure (“I’m just not crafty”), but the more accurate diagnosis is usually one of three structural problems.
First, check whether the tutorial format matches your actual learning style. If you’re watching a long video and losing track, look for timestamp markers or see whether the kit brand has broken content into shorter clips on their channel. Many brands upload supplementary material that isn’t advertised in the kit listing.
Second, check your hoop tension. Slack fabric is the single most common cause of sloppy stitches in beginner work — the thread pulls the weave rather than sitting on top of it. Re-tighten the hoop until the fabric feels like a drum, not a hammock.
Third, if the thread feels physically difficult to work with, this is a materials problem, not a skill problem. Replacing the supplied floss with a single skein of DMC stranded cotton in a matching colour costs under $5 and changes the tactile experience completely. The Craft Council of Australia’s research into adult textile learning notes that thread quality directly affects the learning loop — smooth, cleanly-separating floss lets the learner focus on stitch mechanics rather than materials management.
Frequently Asked Questions
What makes a beginner embroidery kit actually good for learning versus just having supplies? The instruction quality and format. A kit that includes a hoop, fabric, and thread but teaches via a single dense instruction sheet is a supplies kit. A teaching kit sequences stitches by complexity, provides skill-specific tutorials in a format accessible on demand, and includes enough thread of each colour to complete the project with a margin for error.
Are video tutorials really better than printed instructions for learning stitches? For most people, yes — and specifically, short independent clips (one per stitch) outperform both printed instructions and long single-video formats. Embroidery is a motor skill. Watching how a hand moves through the fabric builds muscle-memory modelling in a way that reading cannot. The independent clip format adds the advantage of instant access to exactly the moment of need.
How many stitches should a beginner kit teach? Four to six is the functional range for a well-designed first kit. More than eight stitches in a beginner kit usually signals that the kit is designed to look comprehensive rather than to build skill sequentially. Fewer than three stitches may not provide enough variety to develop transferable technique.
Is pre-printed fabric or transfer fabric better for a first project? Pre-printed fabric, clearly. Transfer fabric is a skill in itself and adds a failure point before stitching begins. Save transfer technique for your second or third project.
What should you do if your beginner kit feels too hard? Start with hoop tension — slack fabric makes everything harder. Then check whether the tutorial format suits your learning style and whether supplementary video content exists from the brand. If the thread is physically difficult to separate, replace it with a quality stranded cotton and see whether that changes the experience before concluding the kit is the wrong level.